
Blender 3D Modelling
Digital Literacy
Learn the essential Blender tools by completing guided training models designed by the National Center for Computing Education (NCCE). before creating your own animated 3D island scene for assessment.

Project Goal
- Navigate the Blender interface confidently.
- Complete four training models before the assessment begins.
- Learn modelling tools such as move, rotate, scale, extrude and loop cut.
- Create an original animated island scene.
- Add materials, textures, lighting and camera angles.
- Produce a final render and animation as evidence.
Blender Academy
Before beginning your final assessment, you will complete four guided training models. These practise the core skills you will later apply to your own animated island scene.

Monkey

Snowman

Rocket

Chair

Final Scene
Blender Toolbox
Use this as a quick reference throughout the unit.
Navigation
Transform
Modelling
Animation & Render
Training Models
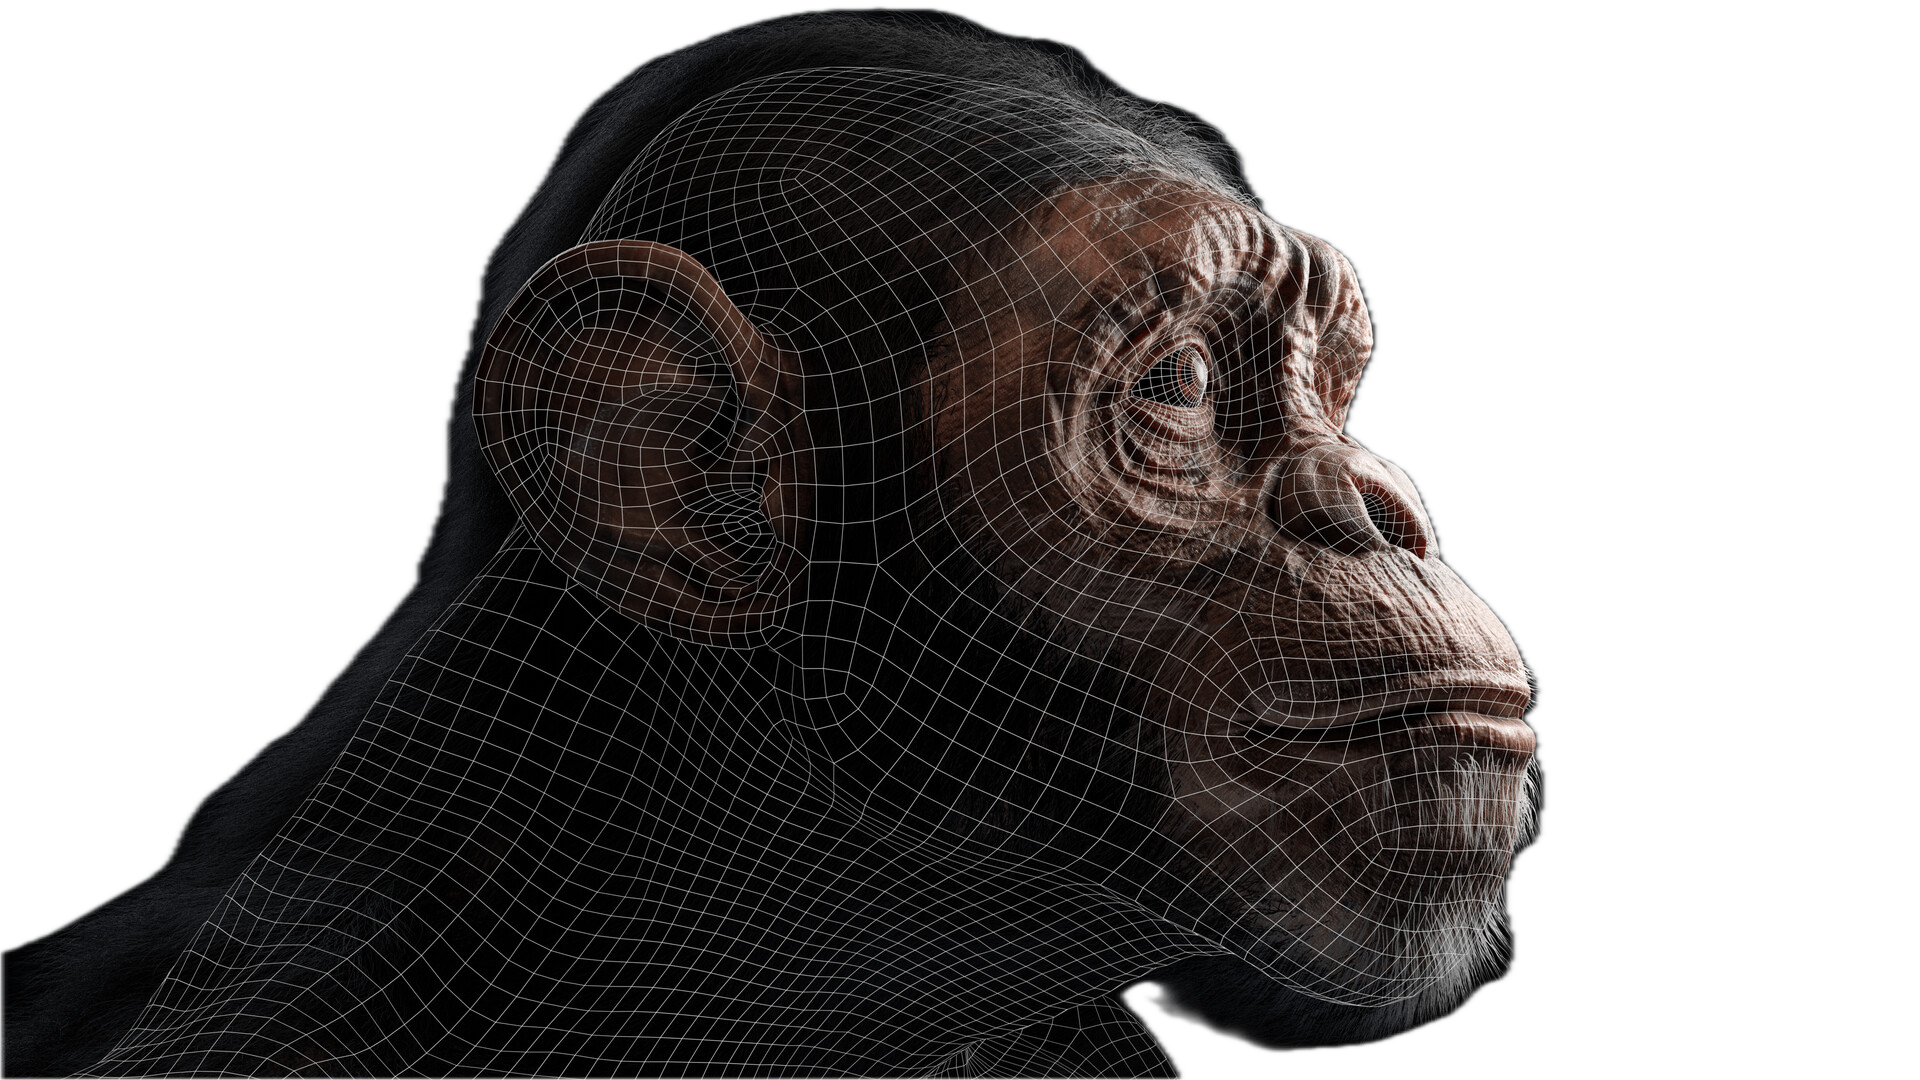
Stage 1: Blender Basics - Monkey
Goal: Learn the Blender interface by creating a simple party monkey model.
- Navigate the Blender viewport.
- Delete the default cube.
- Add a monkey head and cone.
- Move, rotate and scale objects into position.
- Check your model from different angles.
Tools used in this stage
G - Move R - Rotate S - Scale X - DeleteStage 1 How-to Guide
Download PDF
Stage 2: Blender Basics - Snowman
Goal: Learn the Blender interface by creating a simple snowman model.
- Navigate the Blender viewport.
- Delete the default cube.
- Add a sphere mesh for the head.
- Add multiple spheres for the eyes and mouth.
- Add a cone for the nose
- Move, rotate and scale the spheres and cone into position.
- Check your model from different angles.
Tools used in this stage
G - Move R - Rotate S - Scale X - DeleteStage 2 How-to Guide
Download PDF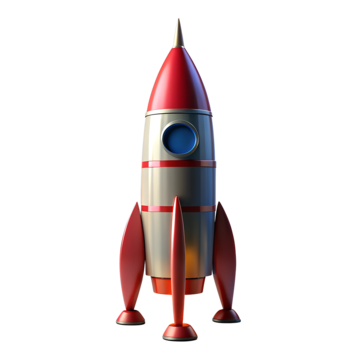
Stage 3: Blender Basics - Rocket
Goal: Learn the Blender interface by creating a Rocket model.
- Navigate the Blender viewport.
- Delete the default cube.
- Add a cylinder.
- Move, rotate and scale objects into position.
- Check your model from different angles.
Tools used in this stage
G - Move R - Rotate S - Scale X - DeleteStage 3 How-to Guide
Download PDF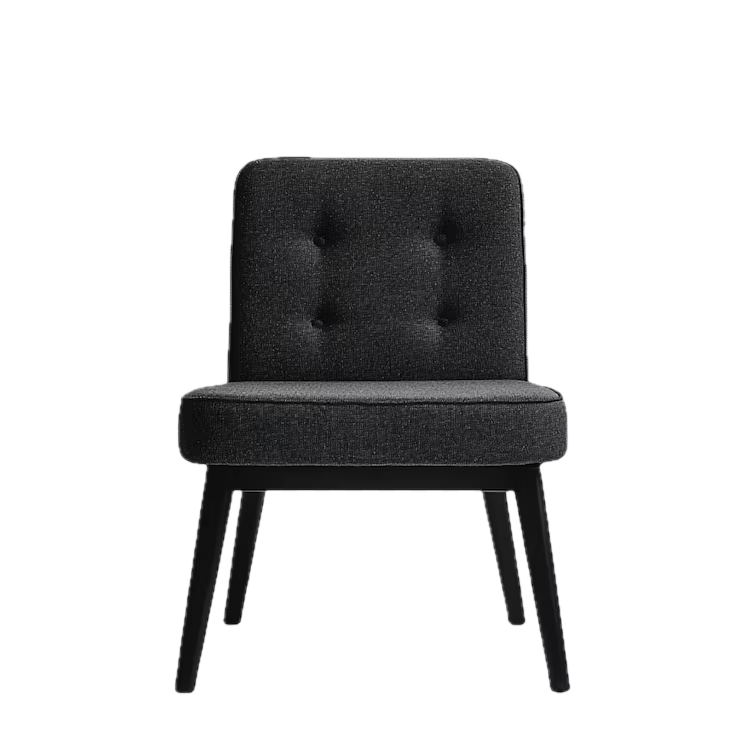
Stage 4: Precision Modelling - Chair
Goal: Build a chair using careful scaling, loop cuts and organised modelling techniques.
- Create the chair base from a cube.
- Use loop cuts to divide the shape.
- Create legs and a back rest.
- Keep the model aligned and balanced.
- Use clear object names where possible.
Tools used in this stage
Ctrl + R - Loop Cut S + Z - Scale on Axis Alignment Object NamingStage 4 How-to Guide
Download PDFAnimated Island Scene
Stage 5: Organic Modelling
Goal: Begin your assessed scene by creating the main environment and core models.
- Create a sea plane.
- Create an island shape.
- Add palm trees.
- Organise your scene carefully.
Assessment focus
Environment CreativityStage 5 Assessment Guide
Download PDF
Stage 6: Materials and Textures
Goal: Make your island scene more realistic using colours, materials and texture choices.
- Add blue material for the sea.
- Add sand material for the island.
- Add wood material for the boat and tree trunks.
- Add green materials for palm leaves.
- Use materials consistently across your scene.
Assessment focus
Materials Textures RealismStage 6 Assessment Guide
Download PDF
Stage 7: Lighting, Camera and Animation
Goal: Complete your scene by adding lighting, camera positioning, animation and a final render.
- Add lighting so the scene is clear and atmospheric.
- Position the camera to frame your scene well.
- Animate at least one part of the scene.
- Render a final image or animation.
- Save your final Blender file clearly.
Assessment focus
Lighting Rendering AnimationStage 7 Assessment Guide
Download PDFCreative Extensions
Choose extra features to make your island scene more original and creative.
Assessment Rubric
Your final scene will be assessed across these six areas.
Sailing Boat
Detailed, accurate and realistic model.
Environment
Sea, island and palm trees are complete and visually effective.
Materials & Textures
Realistic colours and materials are applied carefully.
Lighting & Rendering
Scene is well lit with a clear final render.
Animation
Movement is smooth, believable and supports the scene.
Creativity
Original details go beyond the minimum requirements.